Last Updated on September 13, 2013 by nghiaho12
This is some old Haar wavelet code I dug up from my PhD days that I’ve adapted to image denoising. It denoises an image by performing the following steps
- Pad the width/height so the dimensions are a power of two. Padded with 0.
- Do 2D Haar wavelet transform
- Shrink all the coefficients using the soft thresholding: x = sign(x) * max(0, abs(x) – threshold)
- Inverse 2D Haar wavelet transform
- Remove the padding
I’ve coded a simple GUI using OpenCV to show the denoising in action. There’s a slider that goes from 0 to 100, which translates to a threshold range of [0, 0.1].
I’ll use the same image in a previous post. This is a cropped image taken at night on a point and shoot camera. The noise is real and not artificially added.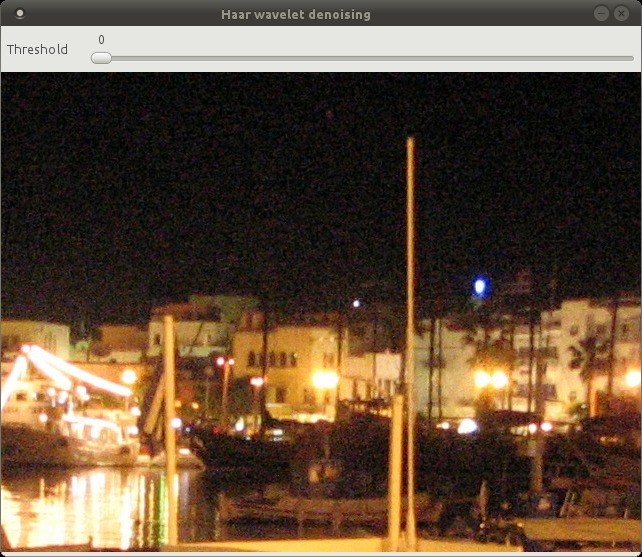

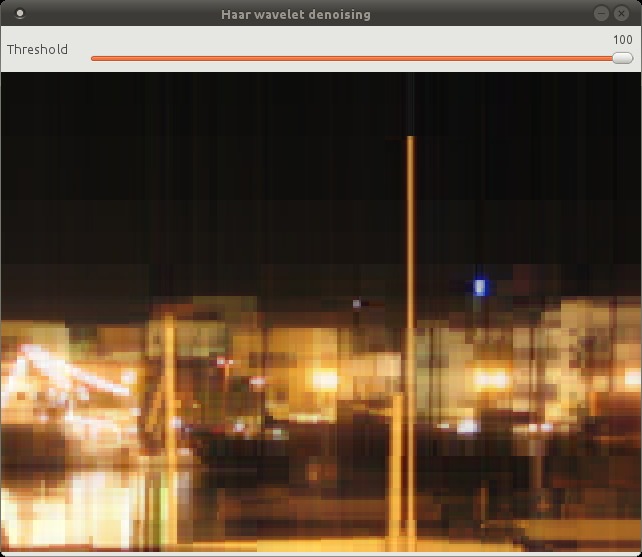
The Haar wavelet does a pretty good job of preserving edges and sharp transitions in general. At threshold = 100 you start to see the blocky nature of the Haar wavelet.
One downside of using the Haar wavelet is that the image dimensions have to be a power of two, which wastes memory and CPU cycles when we have to pad the image.
Download
Compile using GCC with
g++ haar_wavelet_denoising.cpp -o haar_wavelet_denoising -O3 -lopencv_core -lopencv_highgui -lopencv_imgproc
and run via
./haar_wavelet_denoising image.jpg