Last Updated on October 10, 2014 by nghiaho12
I’ve recently had the chance to get back into some CNC’ing with the Taig CNC mill at work. This is the first time I’ve used the Taig and I must say it’s a pretty slick machine for its size. I was tasked with machining out a rectangular block as an initial step for a more complex part. I thought given how much beefier this CNC is compared to my home made ones it should be a walk in the park. It could not be further from the truth!
I’ve consulted many online/offline calculators and read as much posts from other people’s experience to hone in a setting I was happy with. I’ve lost count of how many end mills I’ve broken along the way! Fortunately I ordered some fairly inexpensive end mills to play with so it wasn’t too bad.
The two most common end mills I’ve used are the 3/8″ 1 inch length of cut and a 1/8″ 1 inch length of cut, both 2 flutes and both from Kodiak. To machine out the block I saved some time by removing most of the material with a drop saw (miter saw). This meant less work for the 3/8″ end mill. Here’s a summary of what I used
3/8″ end mill 2 flutes, 1 inch length of cut
- RPM: ~ 3000
- feed rate: 150 mm/min (~6 ipm)
- plunge rate: 50 mm/min (~2 ipm)
- depth per pass: 2 mm (0.0787″)
1/8″ end mill 2 flutes, 1 inch length of cut
- RPM: ~10,000
- feed rate: 500 mm/min (~20 ipm)
- plunge rate: 200 mm/min
- depth per pass: 0.5 mm (~ 0.02″)
The 1/8″ end mill isn’t used to machine the block but for another job.
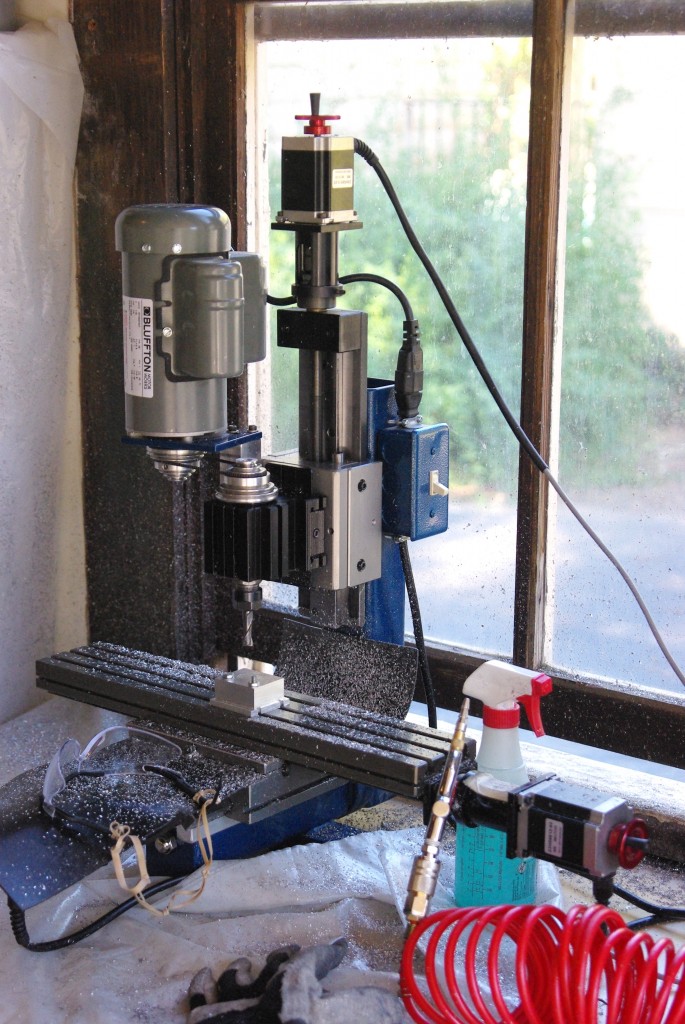
Here is my very basic Taig setup. It is bolted to the table top.
There’s no automatic coolant or air flow installed so I’m doing it manually by hand. Not ideal, but does the job and keeps me alert! I’m using Kool Mist 77. That’s the 3/8″ end mill in the pic. It’s about the biggest end mill that is practical on the Taig. I’ve added rubber bands to the safety goggle to stop it from falling off my head because I wear glasses.
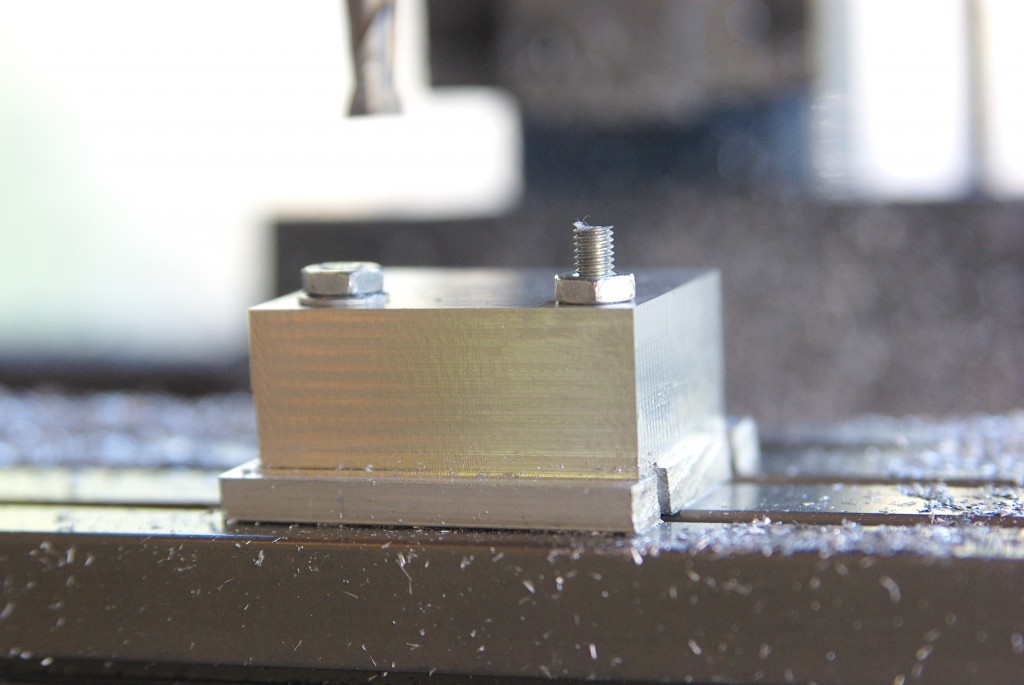
Below shows one side of the block I milled. The surface is very smooth to touch.
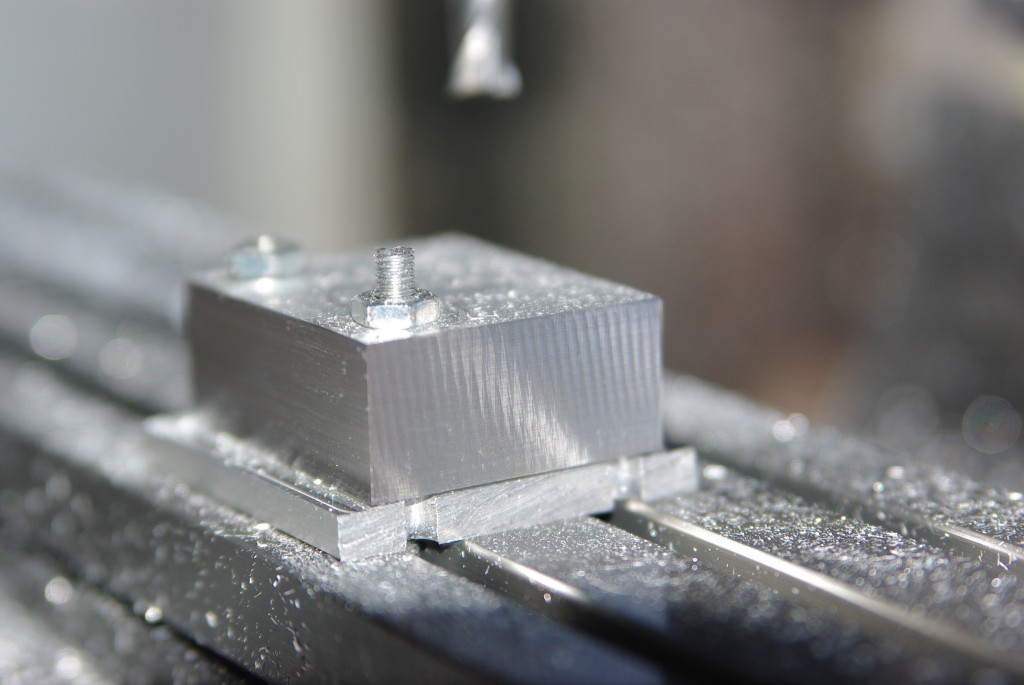
But when looking on the other side, where the cutter is going in the Y direction it shows some wavy patterns?! Not sure what’s going on there. It didn’t mess up the overall job because it was still smooth enough that I could align it on a vise. Still, would like to know what’s going on.
Here are some things I’ve learnt along the way
Clear those chips!
I originally only used Kool Mist and just squirting extra hard to clear the chips. This got a bit tiring and I wasn’t doing such a great job during deeper cuts. Adding the air hose makes life much easier. I found 20-30 PSI was enough to clear the chips.
Take care when plunging
I’ve read the 2 flutes can handle plunging okay but I always find it struggles if you are not careful. The sound it makes when you plunge can be pretty brutal to the ear, which is why I tend to go conservative. I usually set the plunge rate to half the feed rate and take off 50 mm/min. If I’m doing a job in CamBam I use the spiral plunging option, which does a very gradual plunge while moving the cutter in a spiral. Rather than a straight vertical plunge, which makes it harder to clear chips at the bottom. I’ve broken many smaller end mills doing straight plunges. I once did a plunge with the 3/8″ end mill that was a bit too fast and it completely stalled the motor.
I probably should look at per-drilling holes to minimize plunging.
Go easy!
I’ve found a lot of the answers from the feed rate calculators rather ambitious for the Taig. They tend to assume you got a big ass CNC with crazy horse power. Some of the calculators I’ve used take into consideration the tool deflection and horse power, which is an improvement. But at the end of the day the Taig is a tiny desktop CNC weighing at something like 38kg. So know its limits!


